
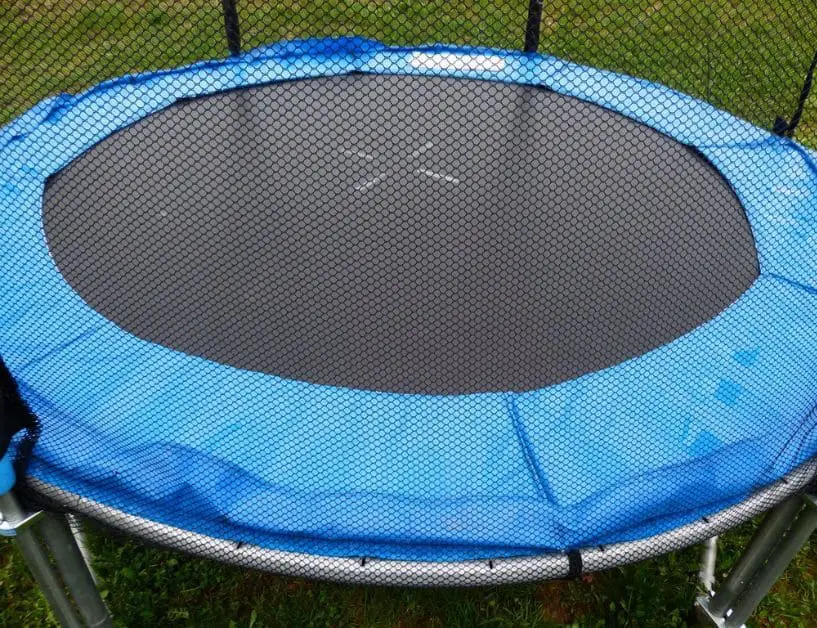
If you’re thinking of getting a trampoline for your family, I highly recommend it, as long as you have enough space in your backyard. As many families like mine have discovered, trampolines have numerous benefits and very few disadvantages.
Trampolines are a fantastic choice if you’re looking to increase physical activity for yourself and your family. They’re also a great addition to our backyard, providing fun for the kids and parents.
If you’re planning to assemble the trampoline yourself, you might be curious about how long it will take. I’ll share with you the estimated time for assembling a trampoline, along with the steps you’ll need to follow.
Plus, I’ll highlight the benefits of having a trampoline in our house, from promoting physical activity to providing hours of fun for the whole family.
In this article, we will discuss how long does it take to assemble a trampoline, How long does it take to assemble a trampoline: Essential Tools
How long does it take to assemble a trampoline: Essential Tools
Here are some essential tools for assembling a trampoline:
Set of Screwdrivers:
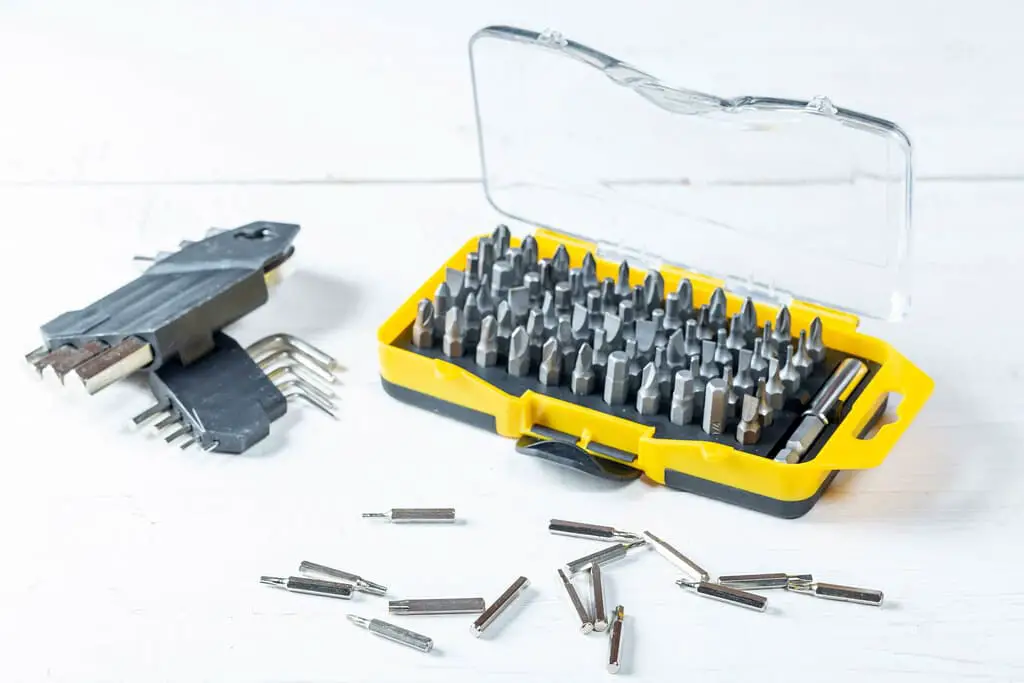
Using a screwdriver set or spinner can be helpful when installing U-shaped stakes. Turning screws by hand can be tough and painful, but with the right tools, like a screwdriver set or spinner, you can easily get the job done without any hassle.
Say goodbye to the annoyance of manually turning screws and make your installation process much smoother and more efficient with the right tools.
Using a Spring Loading Tool for Trampoline Assembly:
A Spring Loading Tool is a helpful tool that makes attaching trampoline springs to the frame much easier. Trampoline springs have a semi-closed loop on one end and an open hook on the other.
To attach the springs, you need to connect the semi-closed loop to the V-ring on the mat and the open hook to the small hole in the frame. Start by fixing the semi-closed loop end first, and then use the spring loading tool to guide and pull the other end through the hole in the frame.
This tool can save you time and effort during the trampoline assembly process.
The Gloves:

Gloves are important to protect your hands from getting scratched by the sharp ends of the springs.
It’s recommended to wear gloves right from the beginning of the assembly process to keep your hands safe and comfortable.
Gloves provide a barrier between your skin and the springs, preventing any potential injuries or discomfort during the trampoline assembly.
Step-by-Step Guide to Set Up a Trampoline
Setting up a trampoline is easy if you have a basic understanding of the steps involved. You don’t need to hire someone else to assemble it for you. With a little effort, you can do it just like a professional installer! The key steps to set up a trampoline include the following.
Building the Circular Frame Ring:
Assembling the round frame of a trampoline is a heavy task and it’s recommended to seek help from someone else. The frame is made up of two types of poles – one with holes at both ends and another with a protruding section that fits into the holes.
Your next step is to connect these two types of poles to form a circle. Once the poles are connected, you need to attach the frame base and ring together.
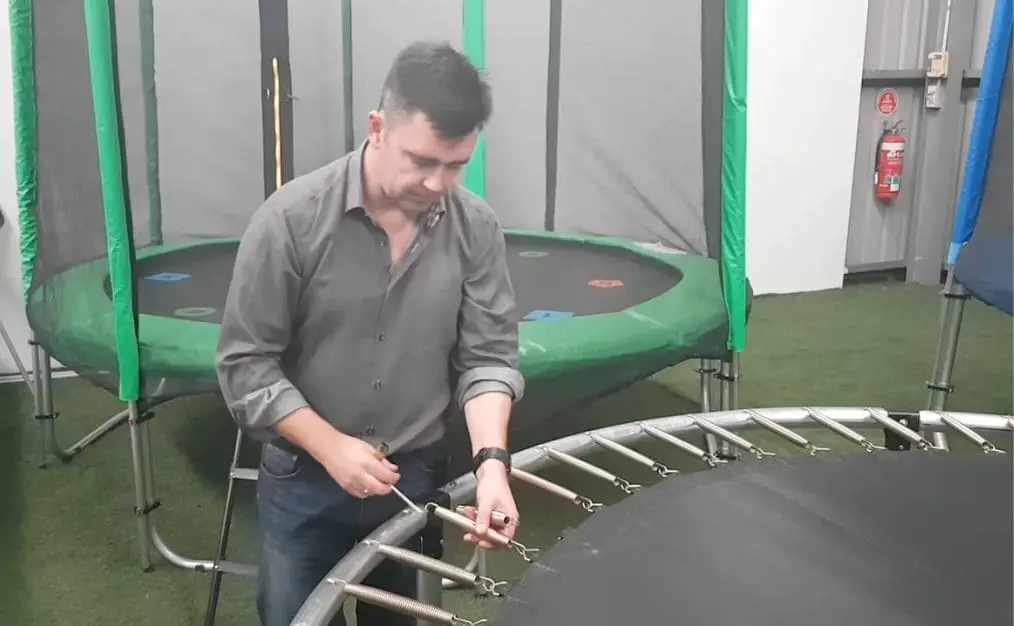
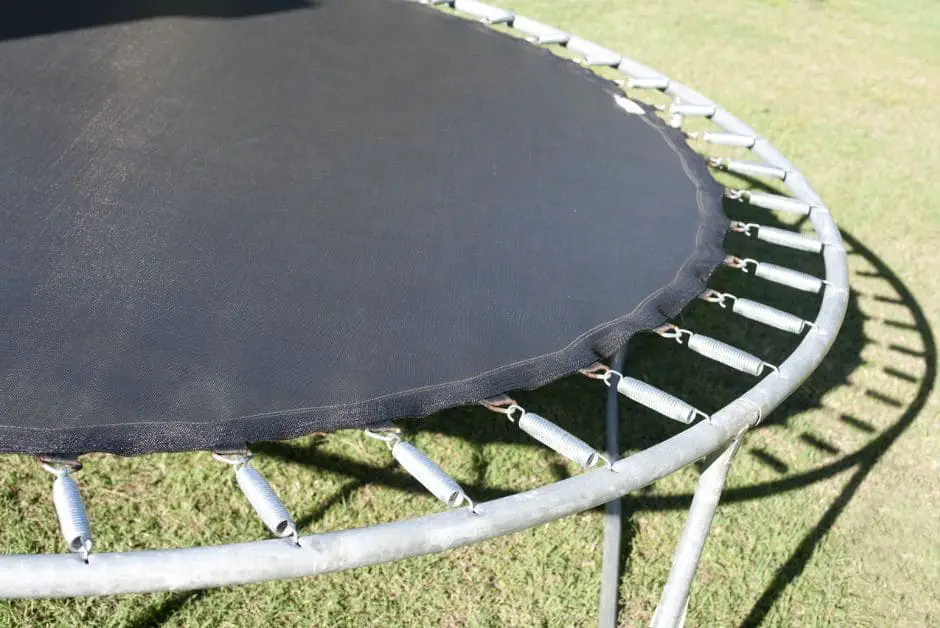
Attaching the Springs and Mat to the Circular Frame Ring:
The most important and challenging step is here – attaching the springs to the trampoline frame. There are usually around 48 to 120 springs in total. It’s crucial to start with the first 4 springs at noon on the frame, and then attach the springs at 3 o’clock, 6 o’clock, and 9 o’clock.
It’s important to follow this sequence to ensure that the springs are evenly distributed and not too tight to pull when you reach the opposite side of the frame.
Installing the Safety Enclosure Net onto the Poles:
Afterward, insert the poles with foam into the safety enclosure mesh pole jackets one by one. Typically, a 15 FT trampoline will have 6 pole jackets. Make sure that all the poles are properly inserted into the jackets.
As you slide the poles into the jackets, you can place them along with the net on the trampoline frame with a mat that you have just finished assembling. This will allow you to work while standing up instead of squatting or bending over.
Setting Up the Trampoline Frame Bases and Placing Them on the Ground:
You may have 5 to 6 bases for your trampoline, each consisting of a U-shaped stand and two shorter upper poles. Attach the short poles to the stands, and then place all the bases on the ground.
Securing the Safety Pad:
The trampoline pad that goes around the mat is important for safety, as it covers the springs to prevent any potential injuries while bouncing. To fix the pad, use the hooks located underneath it.
Crossly attach the hooks to the V-rings under the pad, ensuring that the pad is securely fixed in place.
Connecting the Net Poles and Frame Base:
It’s time for the final step. Use the U-shaped stakes or clamp sets to connect the poles of the net to the frame base. Then, use the spanner provided in the package to securely fasten the clamp sets. It’s recommended to start by installing the two opposing poles first for easier assembly.
Advantages of Rebounding on a Trampoline

Here are some advantages of rebounding on a trampoline:
- Having a trampoline at home can increase physical activity and bring the family together for fun games and quality time on Sundays.
- Jumping on a trampoline is great for cardiovascular health and can improve coordination and balance.
- Trampolines provide a good muscle workout and can help build strength, though it may initially cause soreness.
- Bouncing on a trampoline is a fun and effective way to relieve stress, with a playful and innocent vibe. Spending some time bouncing alone or with family can help reduce accumulated stress from the week.
Avoid These Common Mistakes When Installing Your Trampoline
Here we discuss the common mistakes when installing your trampoline:
U-Shaped Stakes: Facing Inward:
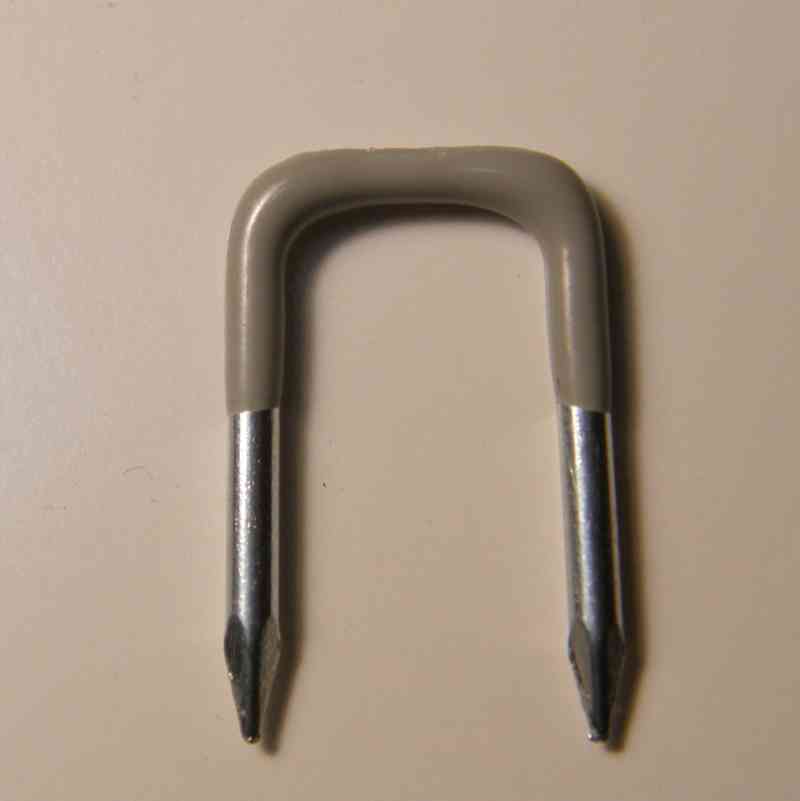
Make sure to read the Zupapa Trampoline Assembly Manual first! We have tested multiple installation methods and found that the one described in the manual is the most efficient and time-saving.
Enclosure Net: Ensure Proper Installation Before Attaching Poles:
It’s recommended to slide all the poles into the covers first, as this will make the subsequent steps much easier.
Planning Installation Time:
The whole process of assembling the trampoline usually takes around 1 to 2 hours with two people working together. It’s important to set aside enough time in advance and avoid leaving the unassembled parts lying around in the yard while you go somewhere else.
Frame Ring: Consists of Two Types of Steels:
The round frame of the trampoline is made up of two types of steel poles, not just one. When installing it, keep in mind that the two sides of each type of pole are connected by another type of pole.
Assembly: Follow the Steps Carefully
We have chosen the best installation method for your trampoline, and if you follow our recommended steps, you will find the whole assembly process very easy! Trust in our instructions and you’ll have your trampoline set up in no time.
Tools: Trust Their Power:
Allow the tools to assist you in setting up the trampoline quickly and efficiently.
Avoid Free-Play Mistakes:
Make sure to read the Zupapa Trampoline Assembly Manual first! We have tested multiple installation methods and found that the one described in the manual is the most efficient and time-saving.
Pre-Assembly Preparation
Before you start assembling your trampoline, it’s important to do some pre-assembly preparation. This includes following the assembly steps carefully:
Gathering all the necessary tools and materials:
Before you begin assembling your trampoline, make sure you have all the tools and materials needed for the job. This may include screws, bolts, wrenches, and other components that are provided with the trampoline. Having everything on hand and organized will help streamline the assembly process.
Reading and understanding the manufacturer’s instructions:
It’s crucial to carefully read and understand the manufacturer’s instructions that come with your trampoline. These instructions provide step-by-step guidance on how to properly assemble the trampoline, including important safety precautions.
Make sure to follow the instructions closely to ensure a safe and successful installation.
Clearing the assembly area and ensuring safety precautions are in place:
Before you start assembling the trampoline, it’s important to clear the assembly area of any obstacles, debris, or hazards. Ensure that the area is level and free from any potential dangers, such as overhead obstacles or sharp objects.
Additionally, make sure to have safety precautions in place, such as wearing appropriate protective gear and having a spotter or helper if needed during assembly. Safety should be a top priority throughout the entire assembly process.
Troubleshooting and Testing
Troubleshooting and testing are important steps during and after the trampoline assembly process to ensure that it is installed correctly and safely. Here are some key points to consider:
Refer to Manufacturer’s Instructions or Contact Customer Support:
If you encounter any issues during the assembly process, such as difficulty fitting components together or aligning them properly, refer to the manufacturer’s instructions or contact customer support for assistance. They may provide guidance or solutions to resolve the issue.
Double-Check Component Fastening and Alignment:
Double-checking that all components are securely fastened and properly aligned is crucial for ensuring the safety and stability of the trampoline. Follow the manufacturer’s instructions to tighten all bolts, screws, and connectors.
Verify that poles, frame components, and enclosure nets are aligned properly and securely attached. Inspect each component carefully to ensure they are in their correct positions and fastened securely.
Test for Stability and Safety:
Once the trampoline is fully assembled, it’s important to test it for stability and safety. Give it a gentle bounce or shake to ensure that it remains stable and anchored to the ground.
Check for any wobbling or instability that may indicate loose or improperly connected parts. If any issues are identified, address them promptly to ensure the trampoline is safe for use.
By addressing any issues or challenges during assembly, double-checking component fastening and alignment, and testing the trampoline for stability and safety, you can ensure that it is assembled correctly and safely, minimizing the risk of accidents or injuries during use.
Clean-up and Final Steps
Completing the assembly process is not the only step to ensure a safe and functional trampoline. Proper clean-up and final steps are important to ensure the longevity and performance of the trampoline.
Cleaning up the Assembly Area:
Once the trampoline is fully assembled, take the time to clean up the assembly area. Properly dispose of all packaging materials, such as boxes, plastic wraps, and other debris. Keeping the area clean and clear of clutter will reduce the risk of accidents and injuries during trampoline use.
Reviewing Manufacturer’s Instructions:
After assembly, carefully review the manufacturer’s instructions for any additional steps or recommendations. Make sure you have followed all the instructions correctly and haven’t missed any important details. This will ensure the trampoline is assembled according to the manufacturer’s specifications and guidelines.
Conducting a Final Inspection:

Before allowing anyone to use the trampoline, conduct a thorough final inspection. Check that all components are properly aligned, fastened, and in their correct positions.
Look for any loose bolts, damaged components, or signs of wear and tear. Make any necessary adjustments or corrections to ensure that the trampoline is fully assembled and safe to use.
By completing these clean-up and final steps, including cleaning up the assembly area, reviewing the manufacturer’s instructions, and conducting a final inspection, you can ensure that your trampoline is assembled correctly and safely, providing a fun and safe bouncing experience for all users.
FAQs:
Q:1 How long does it typically take to assemble a trampoline?
The time it takes to assemble a trampoline can vary depending on factors such as the size and complexity of the trampoline, the experience level of the assembler, and the availability of tools and assistance. On average, it may take anywhere from 1 to 4 hours to assemble a trampoline.
Q:2 What can affect the assembly time of a trampoline?
Several factors can affect the assembly time of a trampoline, including the size and type of trampoline, the complexity of the assembly instructions, the experience level of the assembler, the availability of tools and assistance, and the conditions of the assembly area (e.g., weather, space, terrain).
Q:3 Can I assemble a trampoline by myself or do I need help?
While some trampolines can be assembled by a single person, it is generally recommended to have at least two people assemble a trampoline for safety and efficiency reasons. Some larger or more complex trampolines may require additional assistance.
Q:4 What tools do I need to assemble a trampoline?
The tools needed to assemble a trampoline may vary depending on the specific trampoline model and manufacturer’s instructions. Common tools that may be required include wrenches, screwdrivers, pliers, and a rubber mallet.
It’s important to read and follow the manufacturer’s instructions for the specific tools needed for your trampoline.
Q:5 Can I assemble a trampoline without any prior experience?
Yes, most trampolines come with detailed assembly instructions that can be followed by individuals with little to no prior experience. However, it’s important to carefully read and follow the instructions to ensure proper assembly and safety.
If you feel unsure, it’s recommended to seek assistance from someone with more experience.
Q:6 Are there any tips for speeding up the trampoline assembly process?
Yes, some tips can help speed up the trampoline assembly process. These include reading the instructions thoroughly before starting, organizing all parts and tools beforehand, having an extra set of hands for assistance, and following a systematic approach to assembly, starting with the frame and progressing to other components.
Q:7 What should I do if I encounter difficulties during trampoline assembly?
If you encounter difficulties during trampoline assembly, it’s important to remain patient and carefully review the instructions. Double-check all connections and fastenings, and make sure all components are aligned properly.
If needed, seek assistance from someone with more experience or contact the manufacturer for support.
Conclusion:
In conclusion, the time it takes to assemble a trampoline can vary depending on several factors, including the size and complexity of the trampoline, the experience level of the assembler, and the availability of tools and assistance.
On average, it may take anywhere from 1 to 4 hours to assemble a trampoline. Factors such as following the manufacturer’s instructions, having the right tools, and organizing the assembly process can all impact the time it takes to complete the assembly.
It’s important to carefully read and follow the manufacturer’s instructions for proper assembly, as well as take necessary safety precautions. Seeking assistance from another person, especially for larger or more complex trampolines, can make the assembly process faster and more efficient.
In case of difficulties or uncertainties, it’s recommended to review the instructions, double-check connections and alignments, and seek assistance from someone with more experience or contact the manufacturer for support.
Proper assembly of a trampoline is crucial for its safety and functionality. Taking the time to assemble the trampoline correctly and following all safety guidelines can help ensure a safe and enjoyable trampoline experience for you and your family.
We hope you will be well aware of how long does it take to assemble a trampoline. after reading this comprehensive article. If you have any questions, feel free to share them below!