If you’re looking to assemble a trampoline on your own, you’ve come to the right place! Although manufacturers typically provide installation instructions with each purchase, making sense of all the details can take time and effort.
That’s why we’re here – to demystify trampoline assembly and give you a hand through the process. Although professional assembly services can be expensive, you can do it yourself with a little help from some friends or family members. With the right knowledge and tools, trampoline assembly can even be accomplished as a DIY task!
In this guide, we’ll cover all the details you need to know about how to put together a trampoline. We’ll discuss what materials you’ll need, how to secure your trampoline properly, how to assemble the frame, and how to test it for stability safely.
Every aspect of putting together a trampoline.
To ensure that your trampoline assembly goes smoothly, keeping certain tips and tools in mind is essential for success. With these considerations, assembling a trampoline can be a fun and rewarding do-it-yourself project.
Here you will find out what it takes to assemble your bouncing apparatus correctly and how to avoid common mistakes.
Materials and Tools for Trampoline Assembly:
You will need the following materials to assemble your trampoline correctly:
- Trampoline frame.
- Trampoline mat.
- Springs or straps.
- Ratchet wrench or adjustable wrench.
- Tape measure or ruler.
- Safety pads for trampoline edges.
- Ground stakes (if necessary).
Make sure you have all parts of the trampoline.
- Enclosure poles.
- Padding and trampoline spring cover
- Anchors and strings
- Legs, Trampoline frame, and T-sockets.
- Enclosure net.
- Steel trampoline ladder.
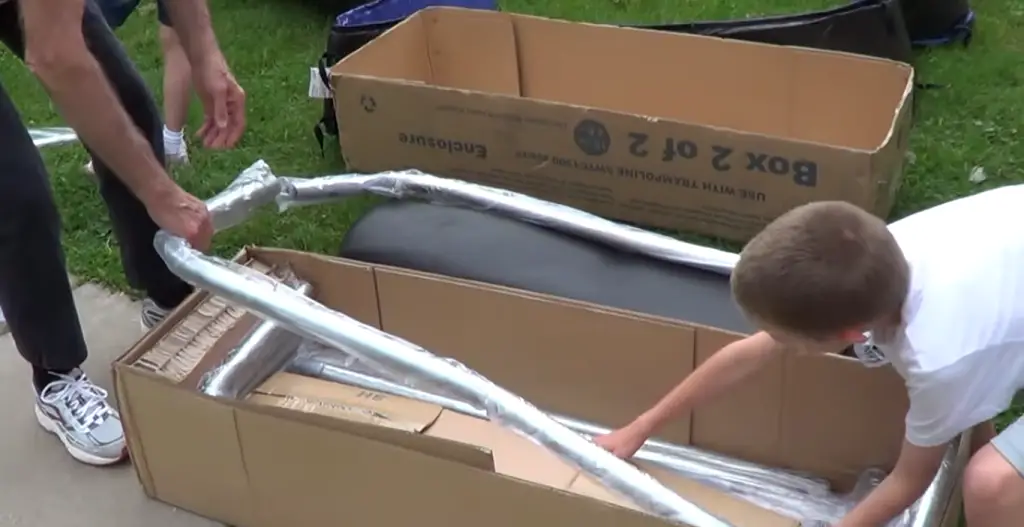
Next, you must carefully open the boxes and inspect their contents to ensure all necessary parts and tools are present, as indicated in the trampoline manual. If any required components still need to be included, it may be best to avoid setting up the trampoline altogether.
Therefore, ensuring that everything has been noticed and included in all packages is essential. Furthermore, it is important to ensure that all parts have been delivered undamaged before assembly. With this in mind, double-check that you have everything necessary for successful installation and that no items are missing or damaged.
Organize all parts.
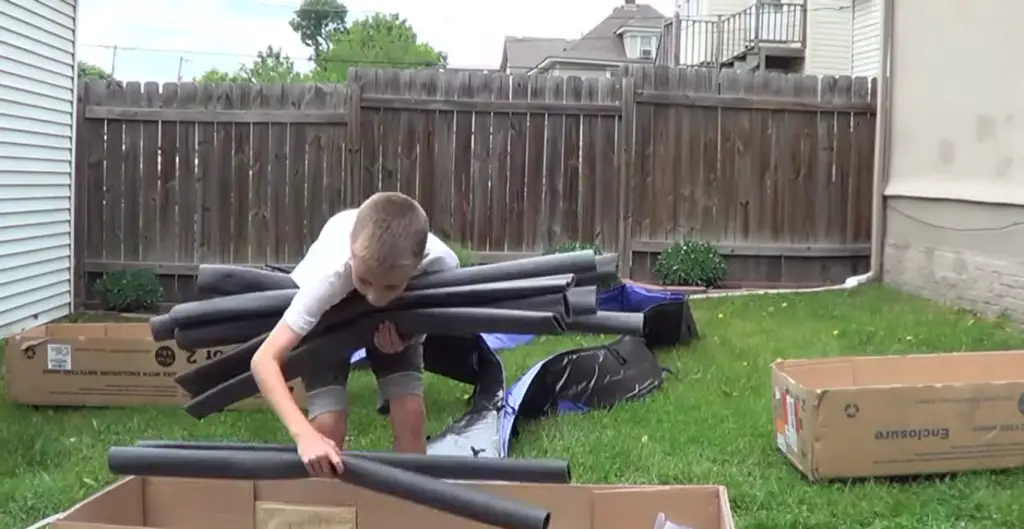
Once all components and tools are accounted for, you should organize them according to how they will be used during assembly. This way, you will avoid confusion or scrambling to find the right part at the right time.
Securing the trampoline on a flat surface is essential to keep it from shifting during assembly. It would help if you considered how much space you have available on your property before settling on a location for your trampoline.
Take note of any surrounding obstacles, such as trees or large rocks, that could interfere with placement and safety.
The right tools are necessary.
- A Phillips head screwdriver is essential for securely fastening screws.
- A spring puller is also necessary for the accurate setup of the springs.
- A rubber mallet can be used to ensure that springs are installed correctly.
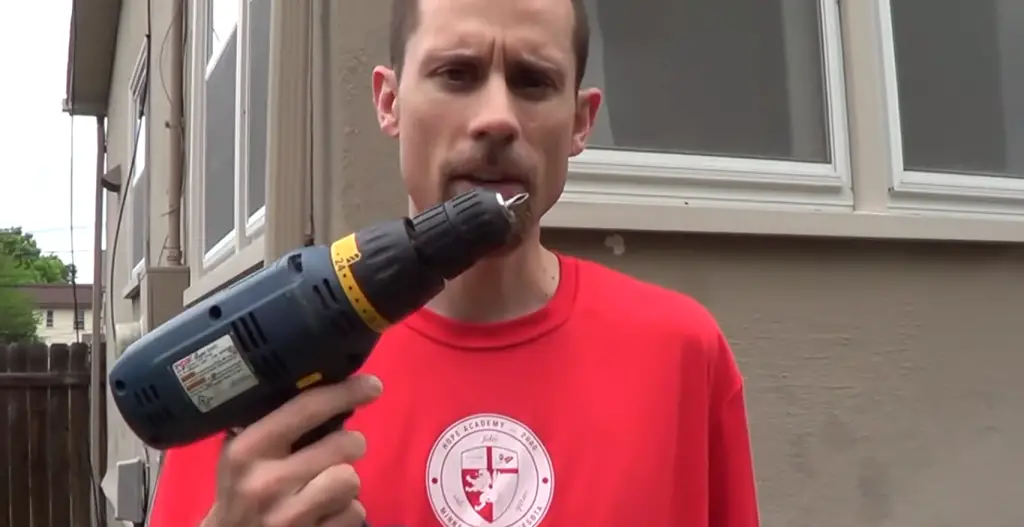
- For faster assembly, a power drill can help speed up the process.
- It’s important to wear protective gloves when handling parts, as they can protect your skin from getting stuck.
- Lastly, a wrench set may be needed occasionally for extra tightening and adjusting.
No matter the project, having the right tools to complete it successfully is essential. Having an array of quality tools ensures that projects are completed easily and accurately. The right equipment can also help minimize mistakes and reduce the time required to finish a project. Knowing what tools are necessary for the job can make all the difference.
Read the manual before you start assembling.
Once all the necessary materials and tools have been gathered, it’s time to read through the assembly instructions. Skim through each stage carefully, considering how certain parts should fit together. This way, you can visualize how the trampoline will look and how each piece is connected.
Call someone to help you.
It is highly recommended that you refrain from attempting to assemble a trampoline alone. Inviting someone else to help can make the process much easier, faster, and safer. Also, ensure the person helping you has adequate experience assembling trampolines, so they can easily guide you through each step.
Assemble A Trampoline Frame first.
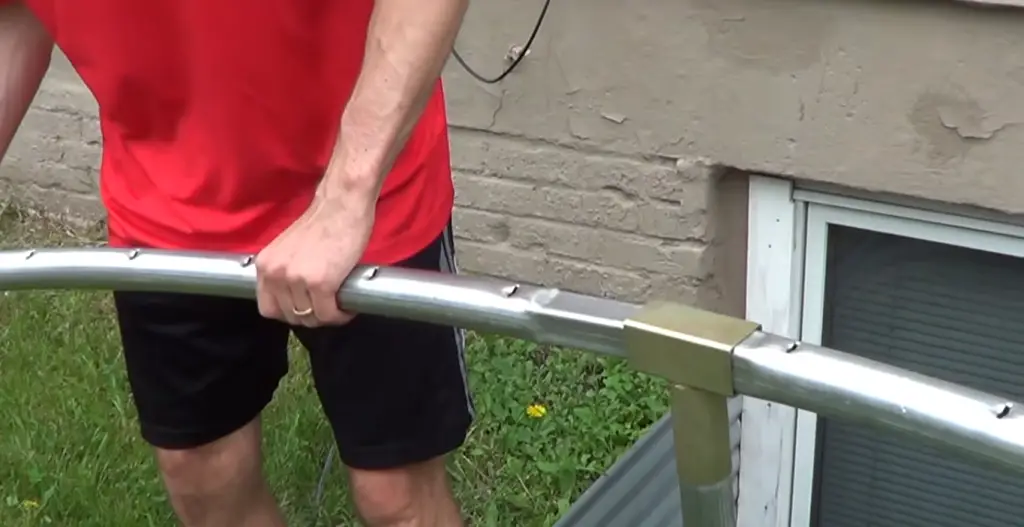
The trampoline frame is the foundation of your trampoline and should be assembled first. Follow the instructions in the manual to secure each pole piece, attach the spring holders, and align the mats correctly.
Make sure to use a good-quality wrench so that everything remains securely in place. Next, construct the trampoline ring by pushing one frame part into another to make a complete circular or rectangular base.
Next, attach the legs to this foundation, which can be done by lining up the pre-made holes with corresponding T-sections and connecting them with bolts/screws. To simplify this process, use an electric drill instead of a screwdriver.
You can also utilize a rubber mallet to ensure the holes are properly lined up for each leg. Finally, secure the T-sections and legs together with Phillips head screws. Once complete, your trampoline ring is ready to enjoy!
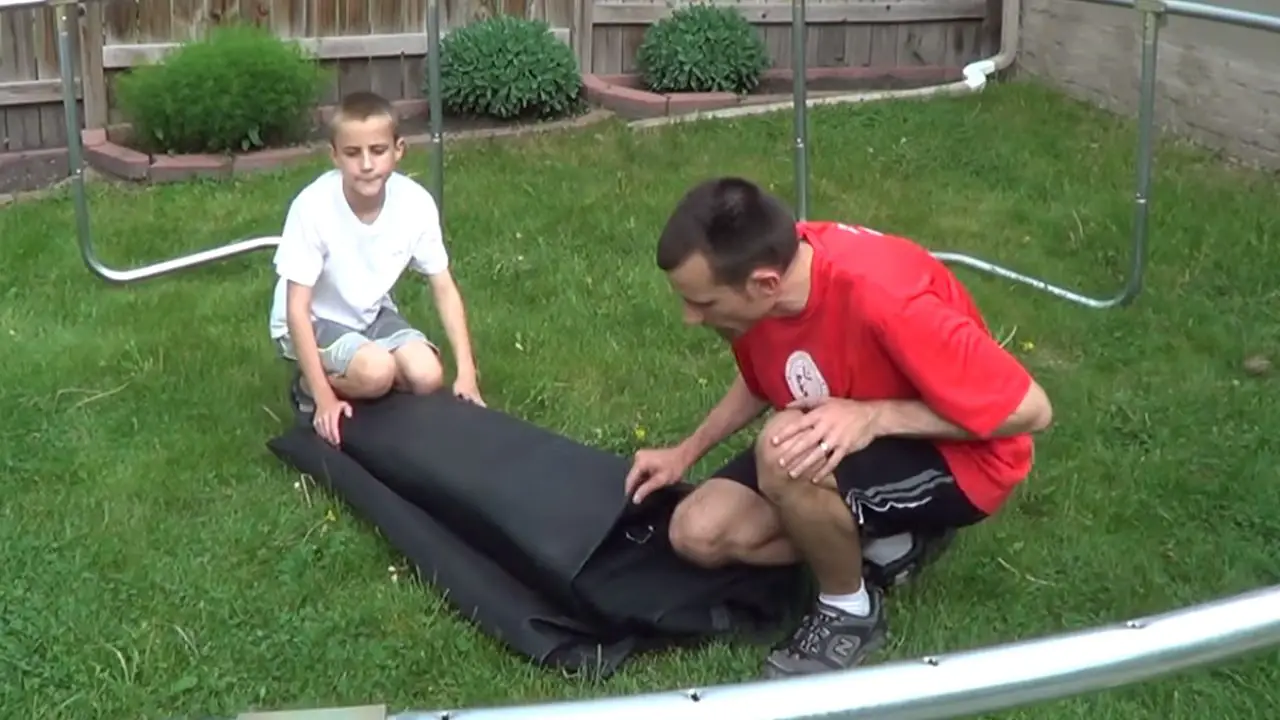
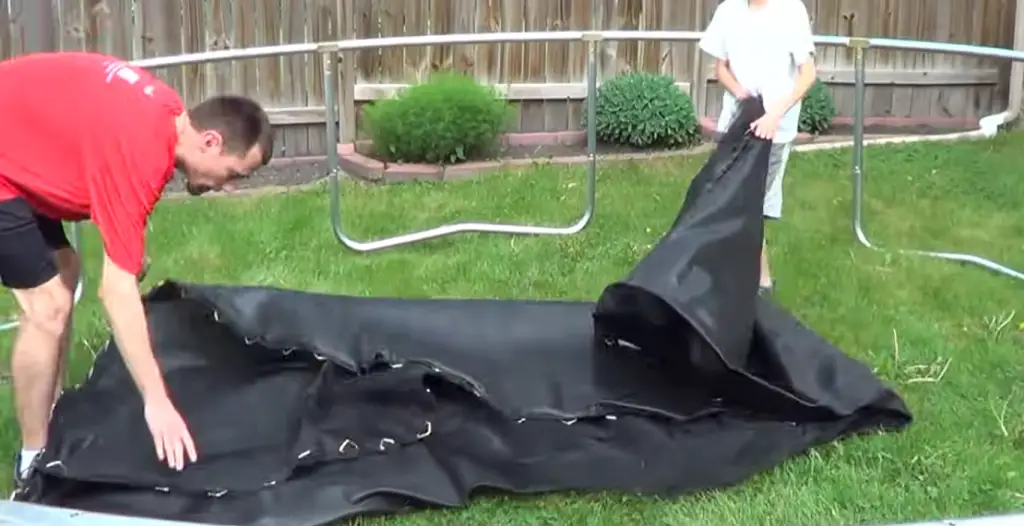
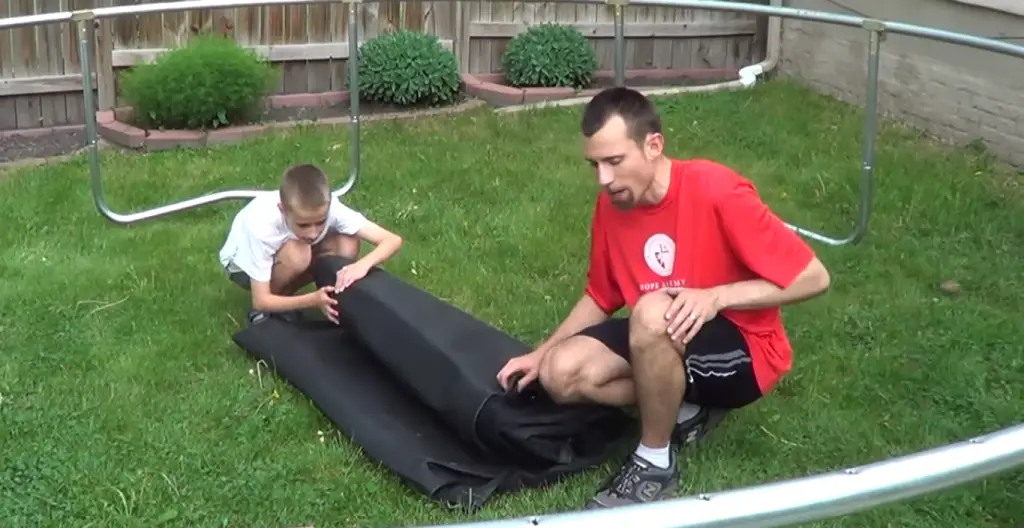
The next step is assembling Springs and Mat.
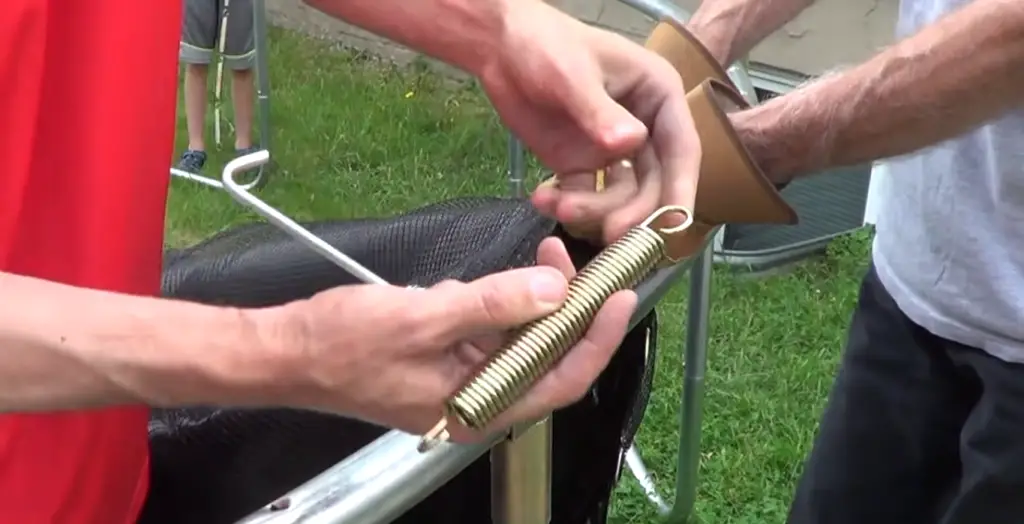
Installing trampoline springs and mats can be quite challenging, but with the right tools and knowledge, it’s relatively straightforward. First, connect one end of the spring to the mat’s frame and the other to any v-ring on the mat.
Then, add another spring the same way on the opposite side of the first and the third spring at 90 degrees. Afterwards, use this same alternating pattern on the opposite sides to ensure even tension throughout the mat. The spring puller is immensely helpful for drawing in the springs, while a rubber mallet will help you easily snap them into place.
Now is the time to lay down the Protective Trampoline Pad.
When all springs and mats are secured, it’s time to cover the trampoline with a protective pad. This will provide extra cushioning for users while drastically reducing the risk of injury.
Start by placing the padding around the outside of the frame, tucking it in between each spring before completely wrapping it around each leg. Next, use the straps that come with your trampoline to attach the padding securely in place. Lastly, use a pair of scissors to cut away any excess material.
Consider Safety Net.
An extra layer of protection, keeping users from bouncing off the trampoline. Adult outdoor trampolines usually come with a safety net enclosure which prevents contact with the frame and helps to avoid falling off. Installation involves snapping the supplied poles into customized holes on the frame and securing them with screws.
The bungee loops or strings should be attached to the bottom of the trampoline frame and tied to the top posts with string or fittings. If the net is already fixed to the poles, there’s no need for threading it together. Finally, check all components quickly before allowing your kids to jump! Ensuring they are safe while having fun is paramount.
For added security, set up a personal safety perimeter around the trampoline and make sure adults supervise young children while they play. That way, you can rest assured that everyone stays safe when enjoying time on their new outdoor trampoline.
Ladder for trampoline jumpers.
Attach a ladder so your trampoline jumpers can safely get on and off the trampoline. Measure how high the ground is from the platform’s edge, then pick a ladder whose steps reach that height.
Place it in position and use screws to secure it firmly against the frame. Anchor kits are essential in preventing trampolines from being swept away by strong gusts of wind. This accessory helps secure the trampoline to the ground, requiring insertion and fastening.
Installing an anchor kit gives you peace of mind that your trampoline is firmly rooted into place and safe from any potential weather-related destruction. In addition, these kits can also be used to secure other outdoor items, such as playsets and swings. Anchor kits are essential to ensuring that your backyard is secure and protected.
Related article : How hard is it to put together a trampoline
May you face these issues, let me discuss them.
If you’re having any issues with assembling your trampoline, don’t worry—you’re not alone. Building a trampoline is no easy feat, whether it be how to attach the springs and mats or ensure proper safety net support.
If you need an extra hand, contact the trampoline supplier or a local professional. With their help, you’ll be able to put together your trampoline easily.
One of the most common mistakes when assembling a trampoline is not following the instructions in the manual. For example, if you attempt to attach each spring to the mat without adhering to the proper procedure, you may encounter problems. To ensure successful assembly, start by attaching 4 to 8 springs and then continue with the rest.
It is also important to be mindful of the trampoline’s setup area. Large trees, roofs, cables, shrubs, or other nearby objects can present a danger and lead to damage. To prevent these kinds of errors, always ensure that you install your trampoline following the instructions above and take proper care of it during winter.
Additionally, try to learn the disassembling trampoline techniques so that you are prepared in case something goes wrong. By familiarizing yourself with both assembly and disassembly processes, you will have a better chance of avoiding common mistakes when assembling your trampoline.
Conclusion.
Let me conclude how to put together a trampoline. Installing a trampoline is simple and easy when following the instructions provided in its manual. Pay attention to how the springs and mats are connected and how much tension you should apply.
Additionally, ensure that no nearby objects or structures could cause damage. Finally, remember to include an anchor kit for added security. With these tips in mind, you can put your trampoline together in no time and get your kids jumping as soon as possible. Happy bouncing!
FAQs
Below I have listed some FAQs related to trampoline assembling.
Does the safety perimeter have to be around the entire trampoline?
Yes, the safety perimeter should be around the entire trampoline to provide maximum protection for those using it.
What materials can be used to create a safety perimeter?
A safety perimeter can be created with any soft material, such as foam, rubber, or sand. It should be placed far away from the trampoline’s edge, so it does not interfere with jumping.
How Much Space Is Needed Around A Trampoline?
1.5m is the recommended amount of clearance needed around a trampoline. This space should be free from any obstacles, and there should also be another 1.5m between the trampoline and other structures in the area.
Is an anchor kit necessary?
An anchor kit is not strictly necessary, but it can provide added security and peace of mind that the trampoline is firmly rooted into place. It is especially important to use an anchor kit if the trampoline is located in a windy or stormy area.
Why Is My Trampoline Mat Loose?
Your trampoline mat may be loose if the springs are not attached in the correct order or are not connected correctly. Additionally, if too much tension is applied to each spring, it can cause them to pull away from the mat.
Can A Trampoline Mat Be Repaired?
A trampoline mat can be repaired by replacing damaged springs or mats. However, referring to the manufacturer’s instructions when replacing parts is important.
Does A Trampoline Need to Be Level?
Yes, a trampoline should always be level. This prevents it from tilting and can help maintain proper balance to ensure safe jumping.
Can A Trampoline Be Used In The Rain?
No, using a trampoline in the rain is not recommended, as this can create an unsafe environment due to slippery surfaces and wet conditions. Check the weather before using a trampoline, and always bring it inside during wet, stormy periods.
How Long Does It Take to Put A Trampoline Together?
3 to 5 hours is the average time it takes to assemble a trampoline. How long it usually takes to put a trampoline together depends on how many people are involved and how familiar they are with assembling trampolines.
Related Posts.